Tutorials – Krodan
About : Simple gallery of Work In Progress pictures showing how UT3 Krodan evolved.
Target Audience : Everyone
Platform : The level was made for UT3 using Unreal Engine 3. It uses absolutely no BSP and almost no art assets from the game itself.
Last Update : December 2007
Introduction
Krodan is made of 95 percent custom content and zero BSP. Except for two statues, the car, and the spiderwebs, everything in the level was self created and designed. The car model was bought on a 3D market site, but I had to touch it up a lot as it was much too low poly and much too simple for use in a next gen game like UT3. The same goes for the dog statue, which I also acquired from a 3D marketplace site, and which was pretty much spot on what I was after.
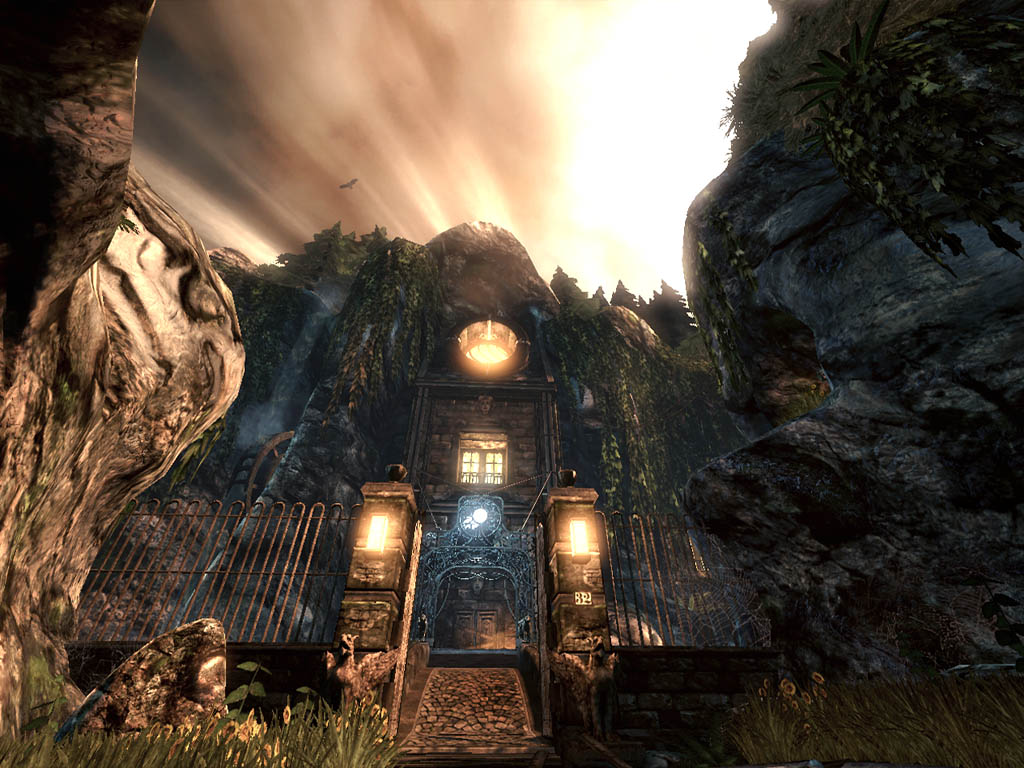
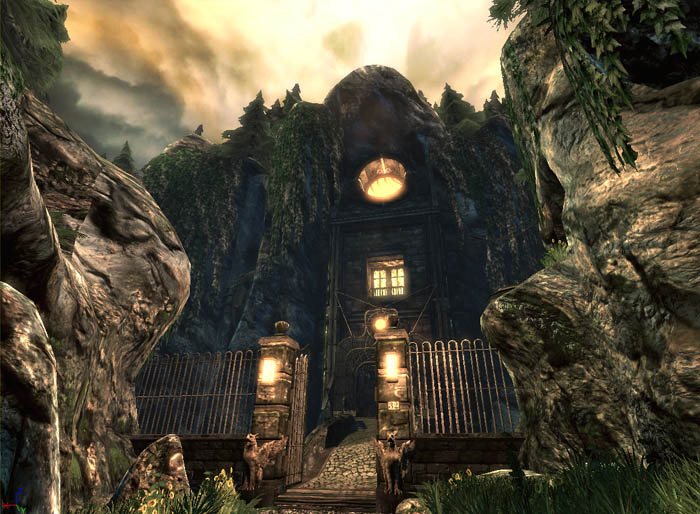
I was after a warm and atmospheric style, with a touch of surrealism to it. I was also after an Unreal’ish feeling. I wanted to create an intriguing, mysterious, and slightly scary place, that makes the player feel welcome. Which is kind of exactly what Unreal did after you got out of the Vortex Rikers.
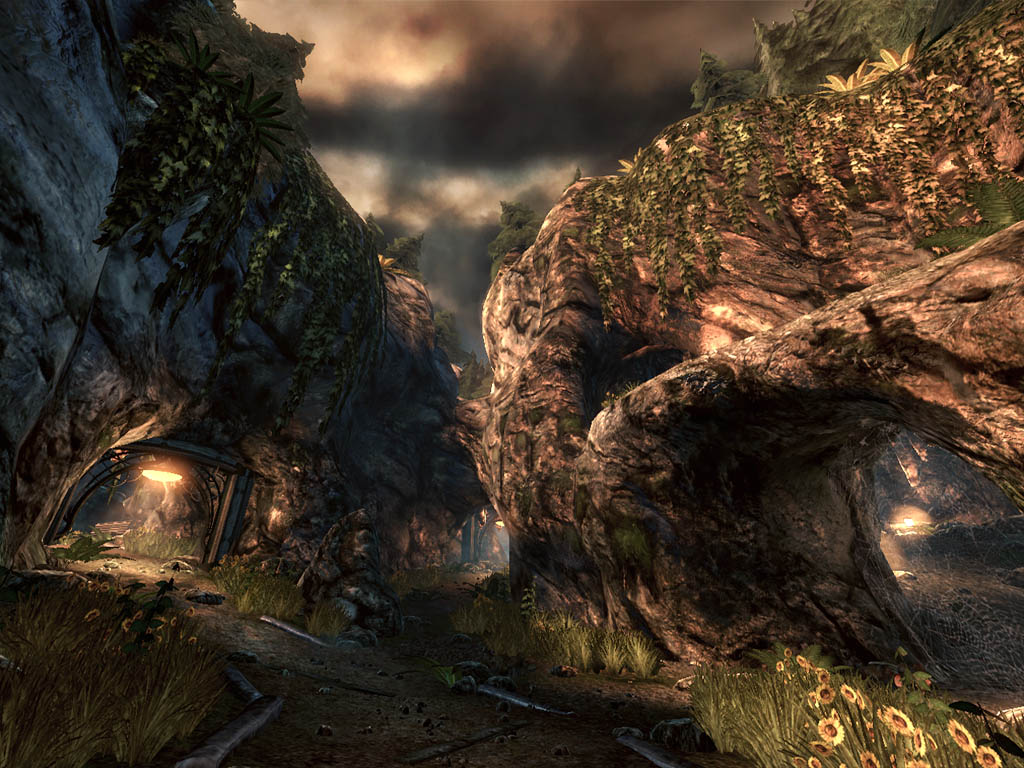
The level was originally made for a UT2004 project that unfortunately died. The level was originally meant to have taken place during a thunderstorm, with a crash site of a chopper, and a number of dead "survivors" scattered throughout the level in and around some tents, waiting for a rescue that never took place. When I finally started working on the level again, after having it left untouched for over a year, I decided to redesign the whole theme, and add in a massive landmark, which is the house. I decided that the level was really missing a big and important element to give it identity, and that a bunch of tents with bodies around weren’t going to be enough, so I ended up with an art nouveau inspired house. I also deepened out the canyon, and I raised the surrounding rocks to make the whole level more vertical aligned. Vertical alignment dwarfs the player, increasing the dramatic feel of a place.
All in all I spend around a month of off and on work on modeling the whole thing, and just three days for all the editor work.
Modeling the thing
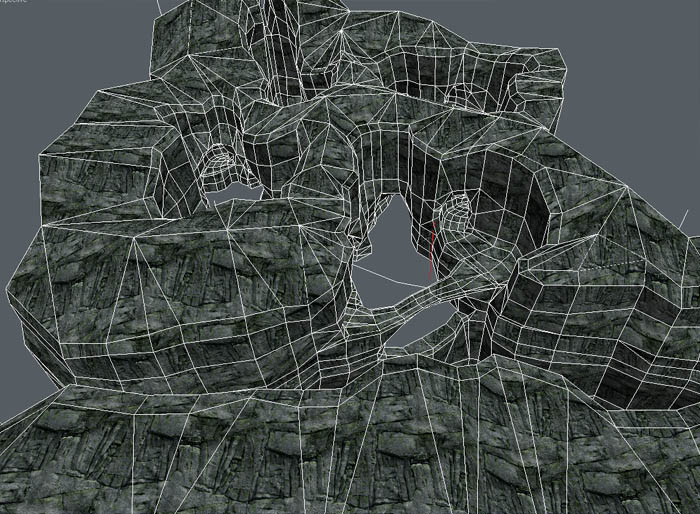
I started off by modeling a relatively low poly lay out, without floors. The floors will be made with the terrain actor of the engine once it is imported in the game.
Once the basic lay out was modeled, I started on the house.
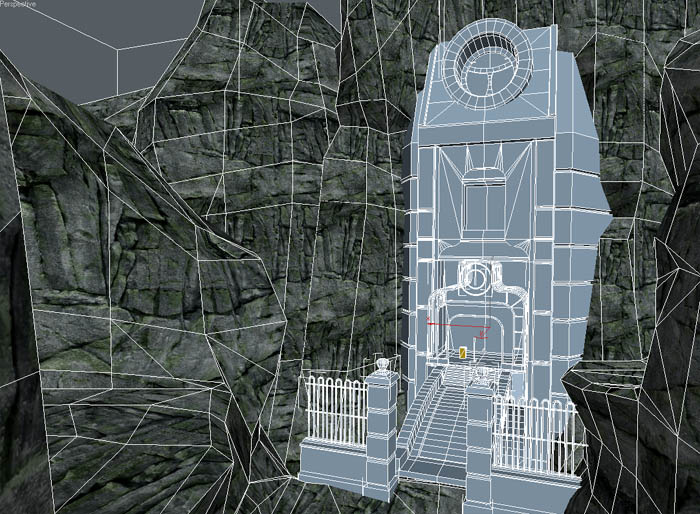
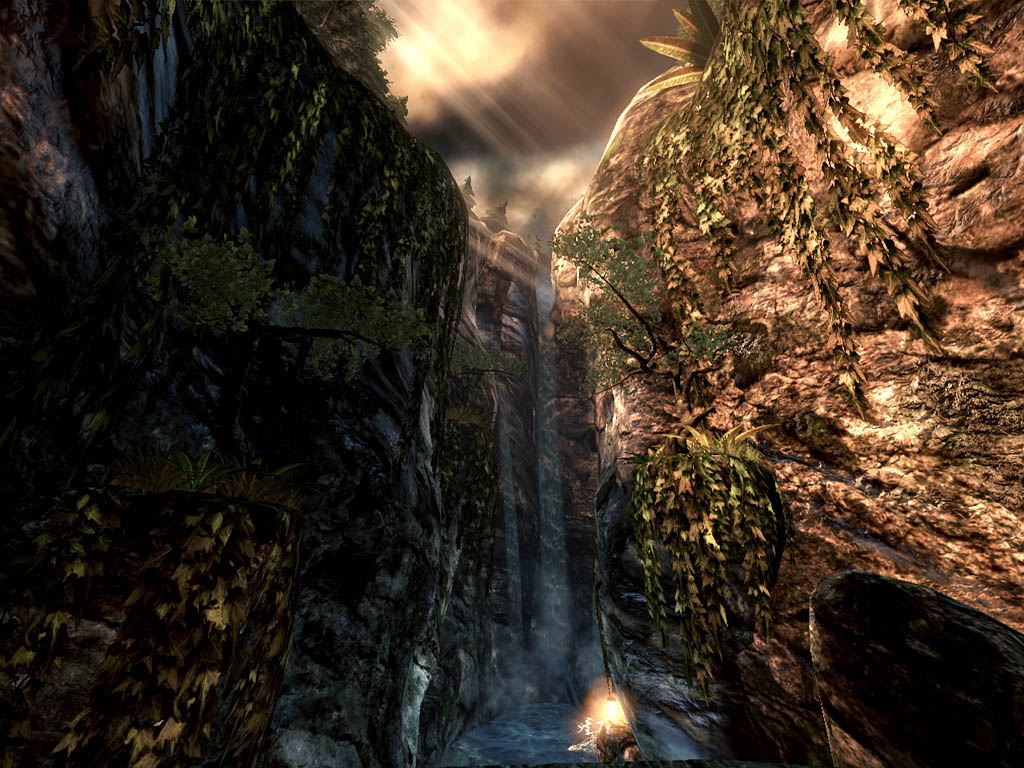
I choose to add a waterfall to the left of the house to further emphasize the vertical alignment of the whole area, and to counter the window cooperated into the rocks on the right of the house.
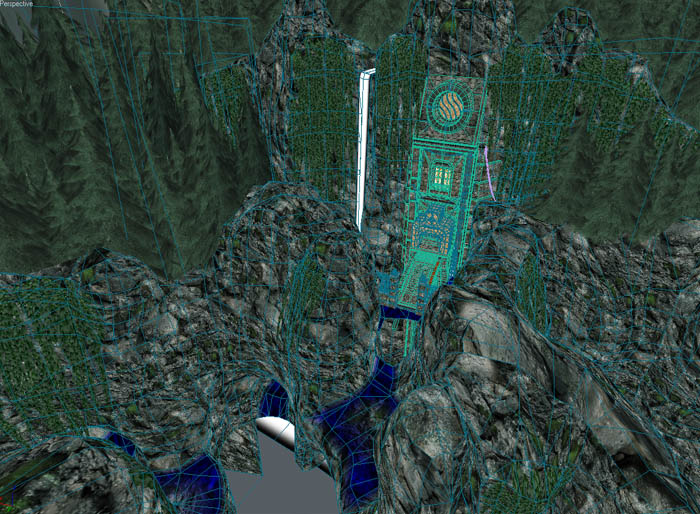
And after a while, I also started texturing it. The rocks were still too low poly in this screenshot and were touched up a lot later on.
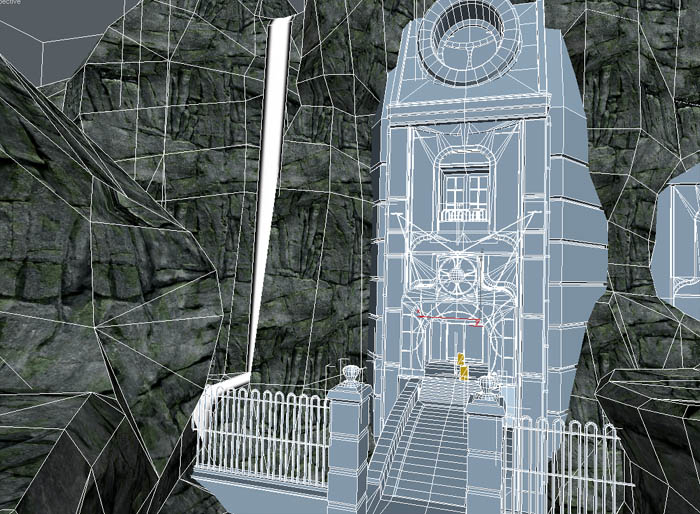
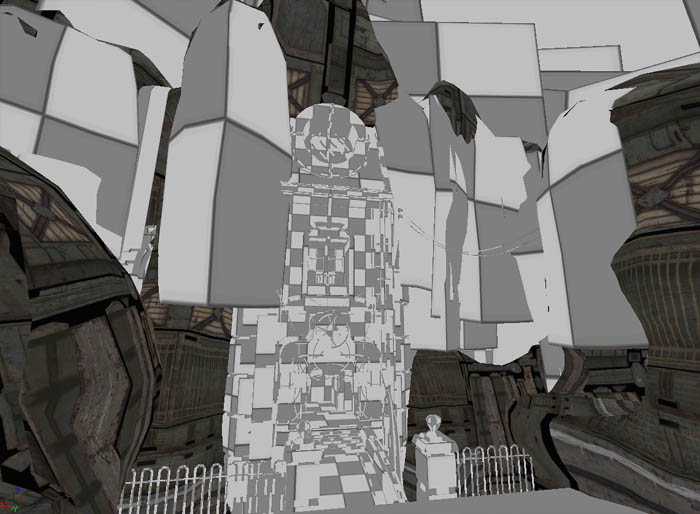
The final scene in 3DSMax looked like the next screenshot. Apart from the details and the terrain, the whole scene was already assembled in 3DSMax, and exported to UnrealEd using the original coordinates. The only thing I had to do in Unreal was to import all of it, and set all meshes to 0,0,0 to place all of them back on their original locations again.
The trees in the distance were made using simple planes, to cut down on polycount. Recreating an entire forest using 3D trees would have been too hardware demanding.
The main rock mesh has vertex colors applied, a pure blue, which will be used to determine where to render sand and where to render rock once imported into the engine. The vertex painted areas were also split up into two material ids, to allow for a third texture to be blended in. See my vertex paint tutorial for more info on this technique.
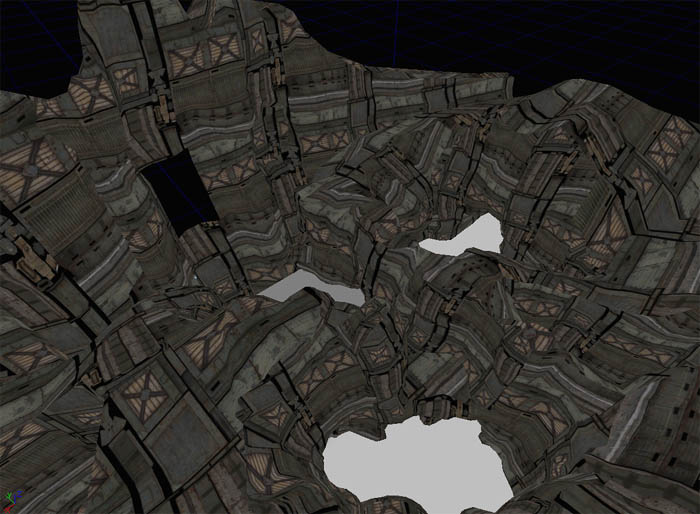
The rocks were unwrapped in such way that most of their UV seams are in the vertex painted areas. A planar UV map on Z was then added using UV channel 2 to cover up the seams. The idea was to use channel 1 for the rock texture, and channel 2 for the sand texture. Because the sand texture is on top of the rock texture, and because it uses a different UV lay out, it would be hiding the seams of channel 1 below. Furthermore sand would never appear on vertical surfaces, so a planar UV map on Z would suffice for it, and it ensures absolutely no seams what so ever in the sand texture.
All ivy meshes are unique models, modeled around and over the surrounding rocks. The house received lightmap coordinates on UV channel 2, and is split into around ten different meshes, to aid occlusion and lightmap detail/size.
Additionally, around 20 small detail meshes were made in another Max file.
Textures
Nearly all textures were photosourced. I’ve used a number of photos from cgtextures.com, but most textures were based on my own texture source photos. The windows I found on Google.
The sky and the rock texture were the hardest to do and it took several attempts and dozens of Photoshop layers to get them right.
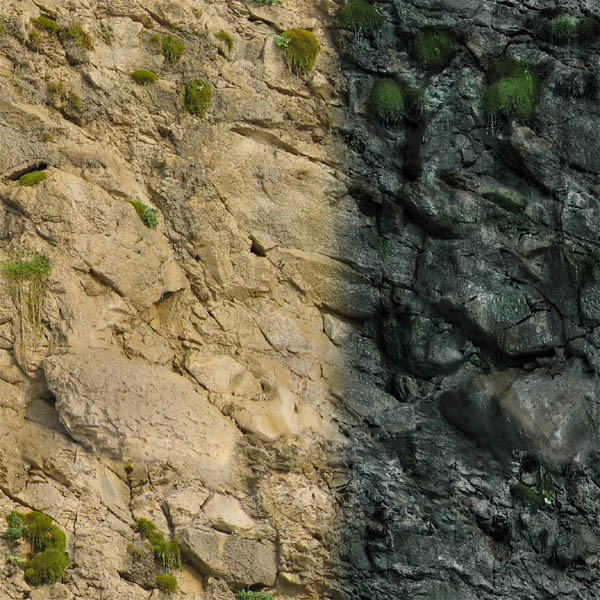
The left side shows the original base layer of the sky, the right side shows the final sky as used in game. The sky texture itself, which was a 2048 resolution texture, was simply mapped onto a sphere using planar mapping on Z. The fact that it stretched near the horizon didn’t bother me as the trees in the level were going to occlude the horizon anyhow.
I’ve started off the sky by Googling a number of cloud photos, which I mirrored around a few times to end up with some kind of circle. I desaturated them to get rid of JPG and crappy-camera artifacts, and then recolored them using several Photoshop layers. I also added several detail cloud layers, and bumped up the contrast and brightness a lot using even more layers. The entire top of the sky was full bright at first, but I later on painted in a darker area on one side as it was much too difficult to get interesting lighting going in the level with a sky that did not clearly define the direction of the lighting.
In the editor, I also multiplied the sky texture several times, and used the output of those expressions as the alpha to blend over a panning tiling cloud texture, to add some much needed dynamism to the otherwise very static sky. The sky itself was also multiplied by a constant to increase the bloom on the bright spots.

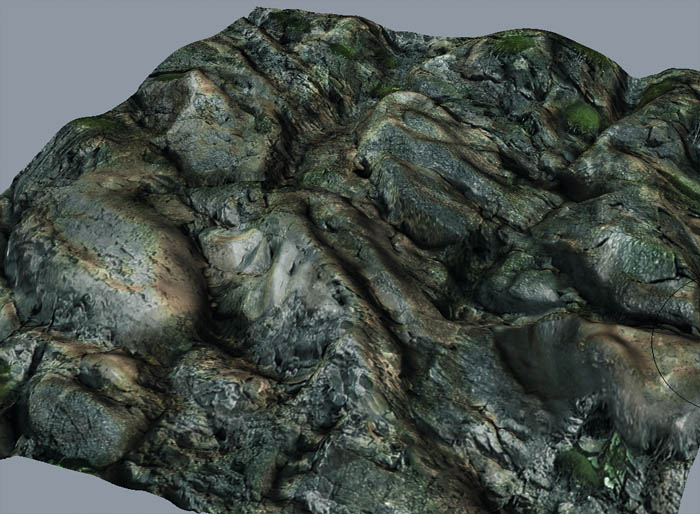
The rock texture also posed a challenge. I started off with a photo I took on a beach in Picardie, France, two years ago, and desaturated the originally yellow rock a lot. I also manually added darker and brighter spots to the rock, to give a stronger pattern to the rock (which in case of a rock texture, is actually a good thing), and give the rock an additional sense of depth.
While most normal maps in the level are made using Crazybump, that approach didn’t really work out well for the rock, so I ended up sculpting the normal map myself. While I am not brilliant with tools like Zbrush and Mudbox, it did got me the normal map I was looking for, more or less.
In UnrealEd I also added a subtle fall off effect to the rock, to give its silhouettes a stronger definition, and I applied detail normal mapping so the rock would also look nice and sharp from upclose.
I barely made any specularity maps, as I derived most of them from the diffuse textures using a material setup. They may be less precise that way, but I couldn’t afford spending another few dozen megabytes on them as the level already was huge in size.
I also merged several alpha textures into the same texture, using the R, G, and B channels each separately. That way I didn’t waste any space, and could get up to 4 alpha textures into the same file.
UnrealEd
Because I had been building the map blindly, the game wasn’t released yet when I was modeling the level, I had to check the scale of my floorplan as soon as I got hold of UT3. I quickly imported the main rock mesh, assigned a random texture to it, and added a simple terrain below. I found out that all my assets had to be downscaled to about 75 percent their size.
Once I was pleased with the scale, I started importing all my meshes, and placed all of them back on their original locations.
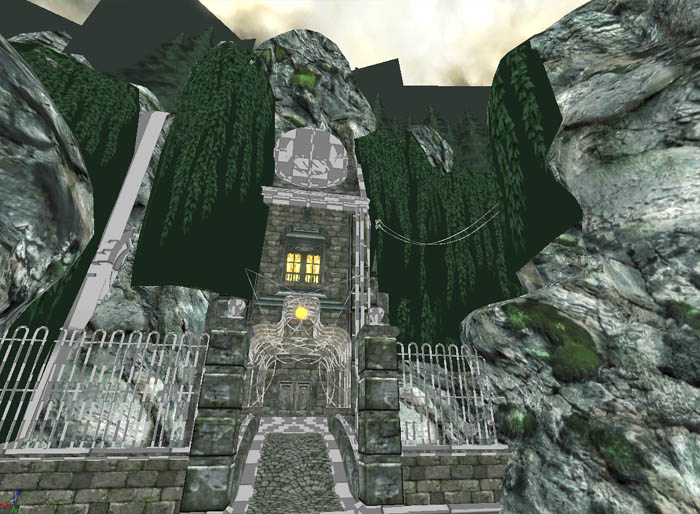
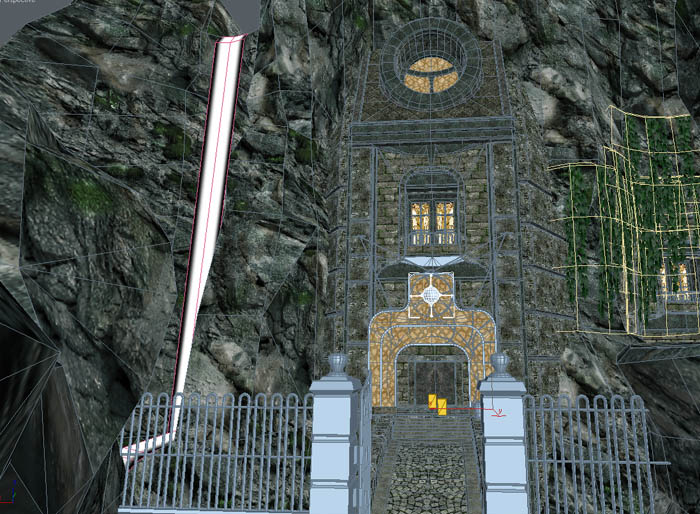
And once all meshes and materials were more or less added to the level, I carefully got into lighting, which took me a couple retries plus a repaint of the sky before I got it right.
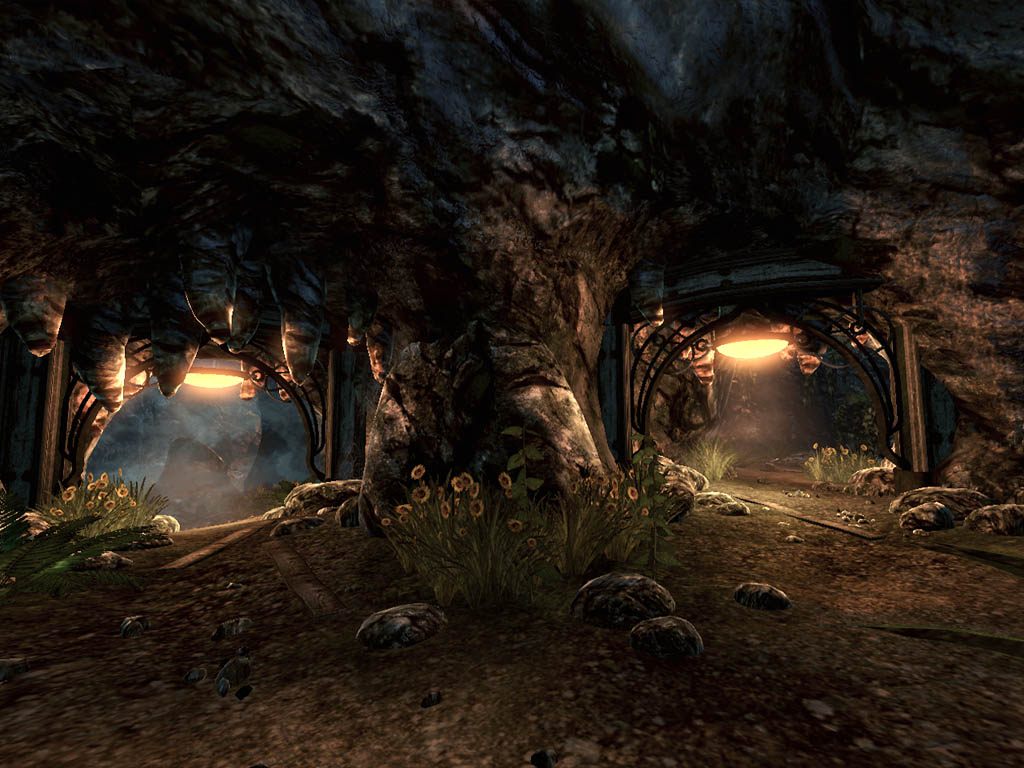
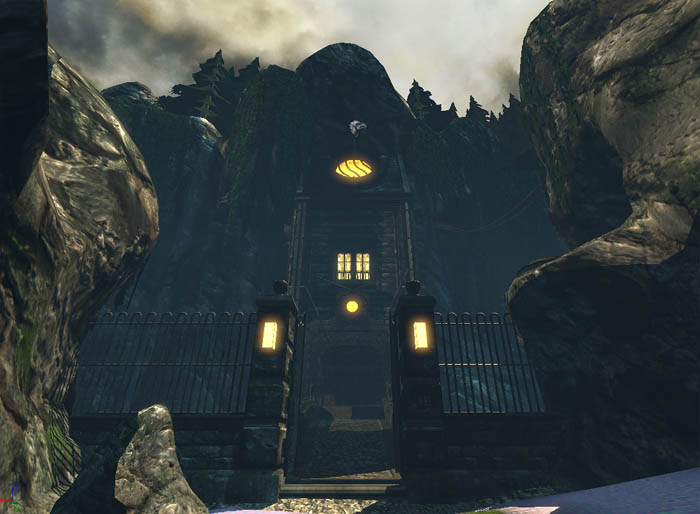
In the end I used one Ambientlight actor with a blue color and four Directional Lights. Two orange lights and two blue lights. The blue lights point in the opposite direction of the orange lights and soften the shadows they cast. I also threw in subtle blue distance fog, and I used well saturated blue fog planes in passages to further live the whole up with some additional color…
I ended up replacing the main yellow lamp at the front of the house with a blue light, to counter all the yellow lamps and windows, as there were too many.
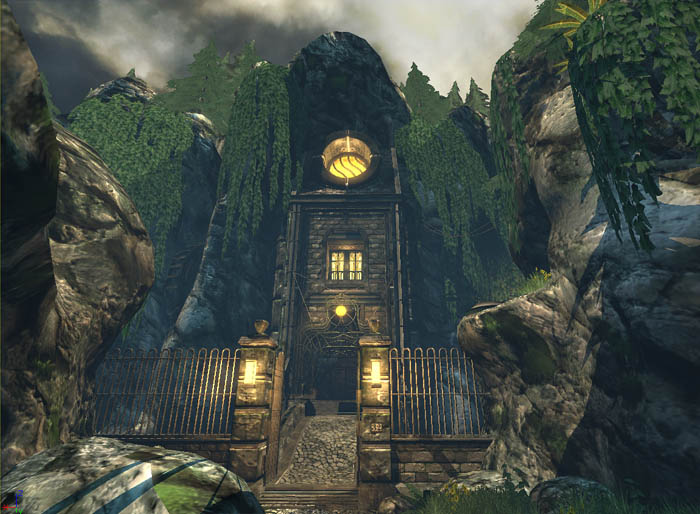
The Result